Re:Connecting

Habitats, Wildlife, People

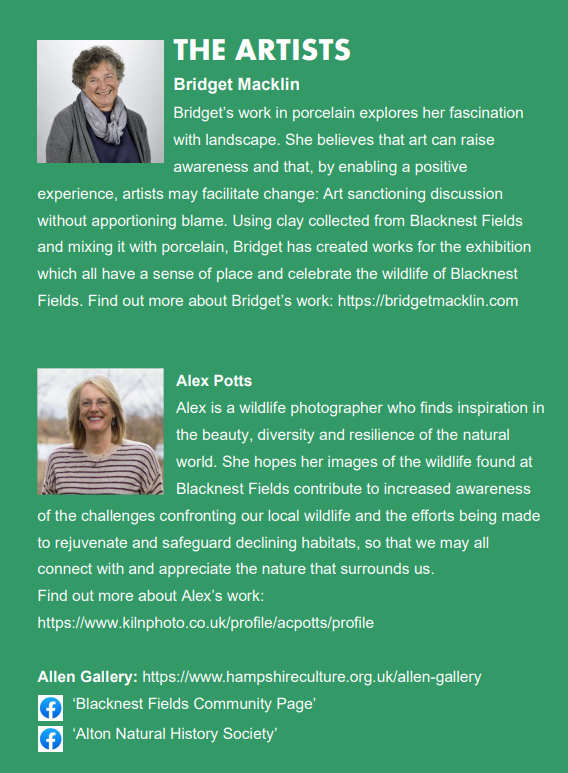
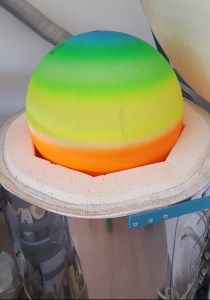
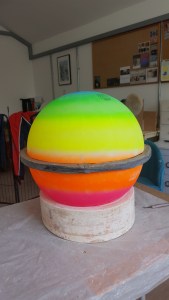
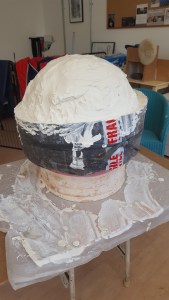
I have been making work for this exhibition for months now, playing with new ideas and developing some of the techniques which I developed during my MA. I have also been enjoying working with Alex Potts whose photographs of the wildlife at Blacknest Fields are simply inspirational.

It has been such a privilege to be associated with this amazingly positive and motivated group who have spotted an opportunity to create a project with wildlife at its core but which is about so much more than just that!

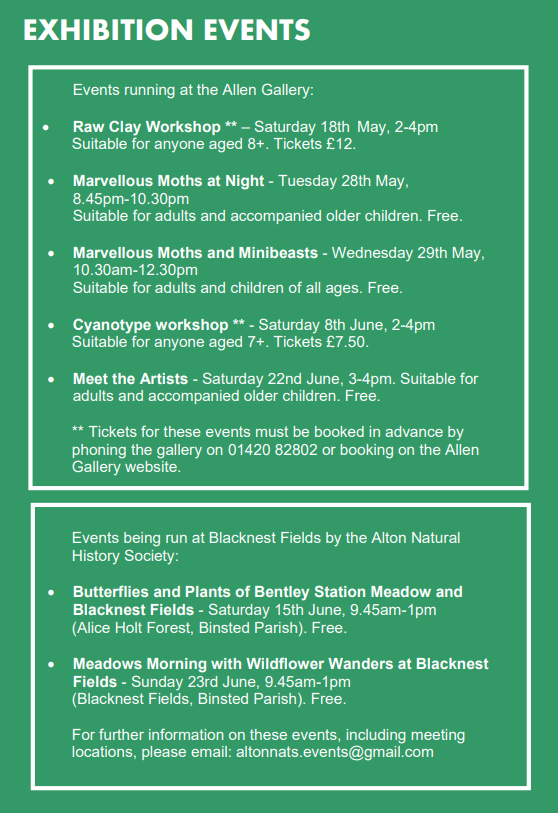
Details are at the bottom of this post. Do come along and find out more about the project, the artists and the materials involved in creating work for the exhibition. I will be there for the raw clay workshop and the Meet the Artists events but this is not about me, there is loads going on!

Would you Like Chips with That?

For quite some time I have had a desire to ‘go large’ in the studio so when I saw a really enormous beach ball for sale in the village post office I simply couldn’t resist the temptation to make a really bit mould.  When I got it home, I discovered just how large it really was – maybe I need a bigger kiln!

20180621_144600
Houston, we have a problem!

In fact it isn’t TOO big.  Once I have done some manipulation of the clay and there has been a bit of shrinkage I am confident that my current kiln will be just fine.

The next thing to do was to create the mould from the shape.  As a general rule I would have built up the clay all the way to the mid point of the ball, constructed a wall around the entire thing and started pouring plaster of Paris until the cows came home.  If I had done that this time I would have used a ton of plaster of Paris and ended up with something so big and heavy I would never have been able to lift it so I thought I would go for something different.  The following images show the main stages:


20180621_153927
1. Make a clay barrier exactly on the mid line of the ball.

20180621_155930
2. pour a very thin layer of plaster of Paris over the whole of the top of the ball. (I made the plaster thicker than usual so that it didn’t run off.

20180621_165154
3. Put a collar on the outside of the clay wall and pour more plaster over tha ball, making sure that it filled the collar and was a fairly even thickness all over.


The result is that I now have a fabulously large mould.  It is light and easy to manoeuvre and I can’t wait for it to dry out fully so that I can get making.