New Directions

I have a rather short attention span so life gets dull unless I mix things up a bit from time to time. I periodically sign up to try something completely new, not knowing where it will lead and not really caring if it leads nowhere at all.

Recently I signed up for an online collage making course with an organisation called Fibre Arts Take Two. The course is run by a lovely lady called Cordula Kagemann. It is online and on demand so I have been able to dip in whenever I want and I have the rest of my life to play the various modules over and over if I feel so inclined.

The course has really opened my mind. I have not finished it yet. I have got stuck on image transfer. It is an extraordinary way of adding interest to a collage and I am hooked.

Image transfer techniques using photocopied butterfly wings.

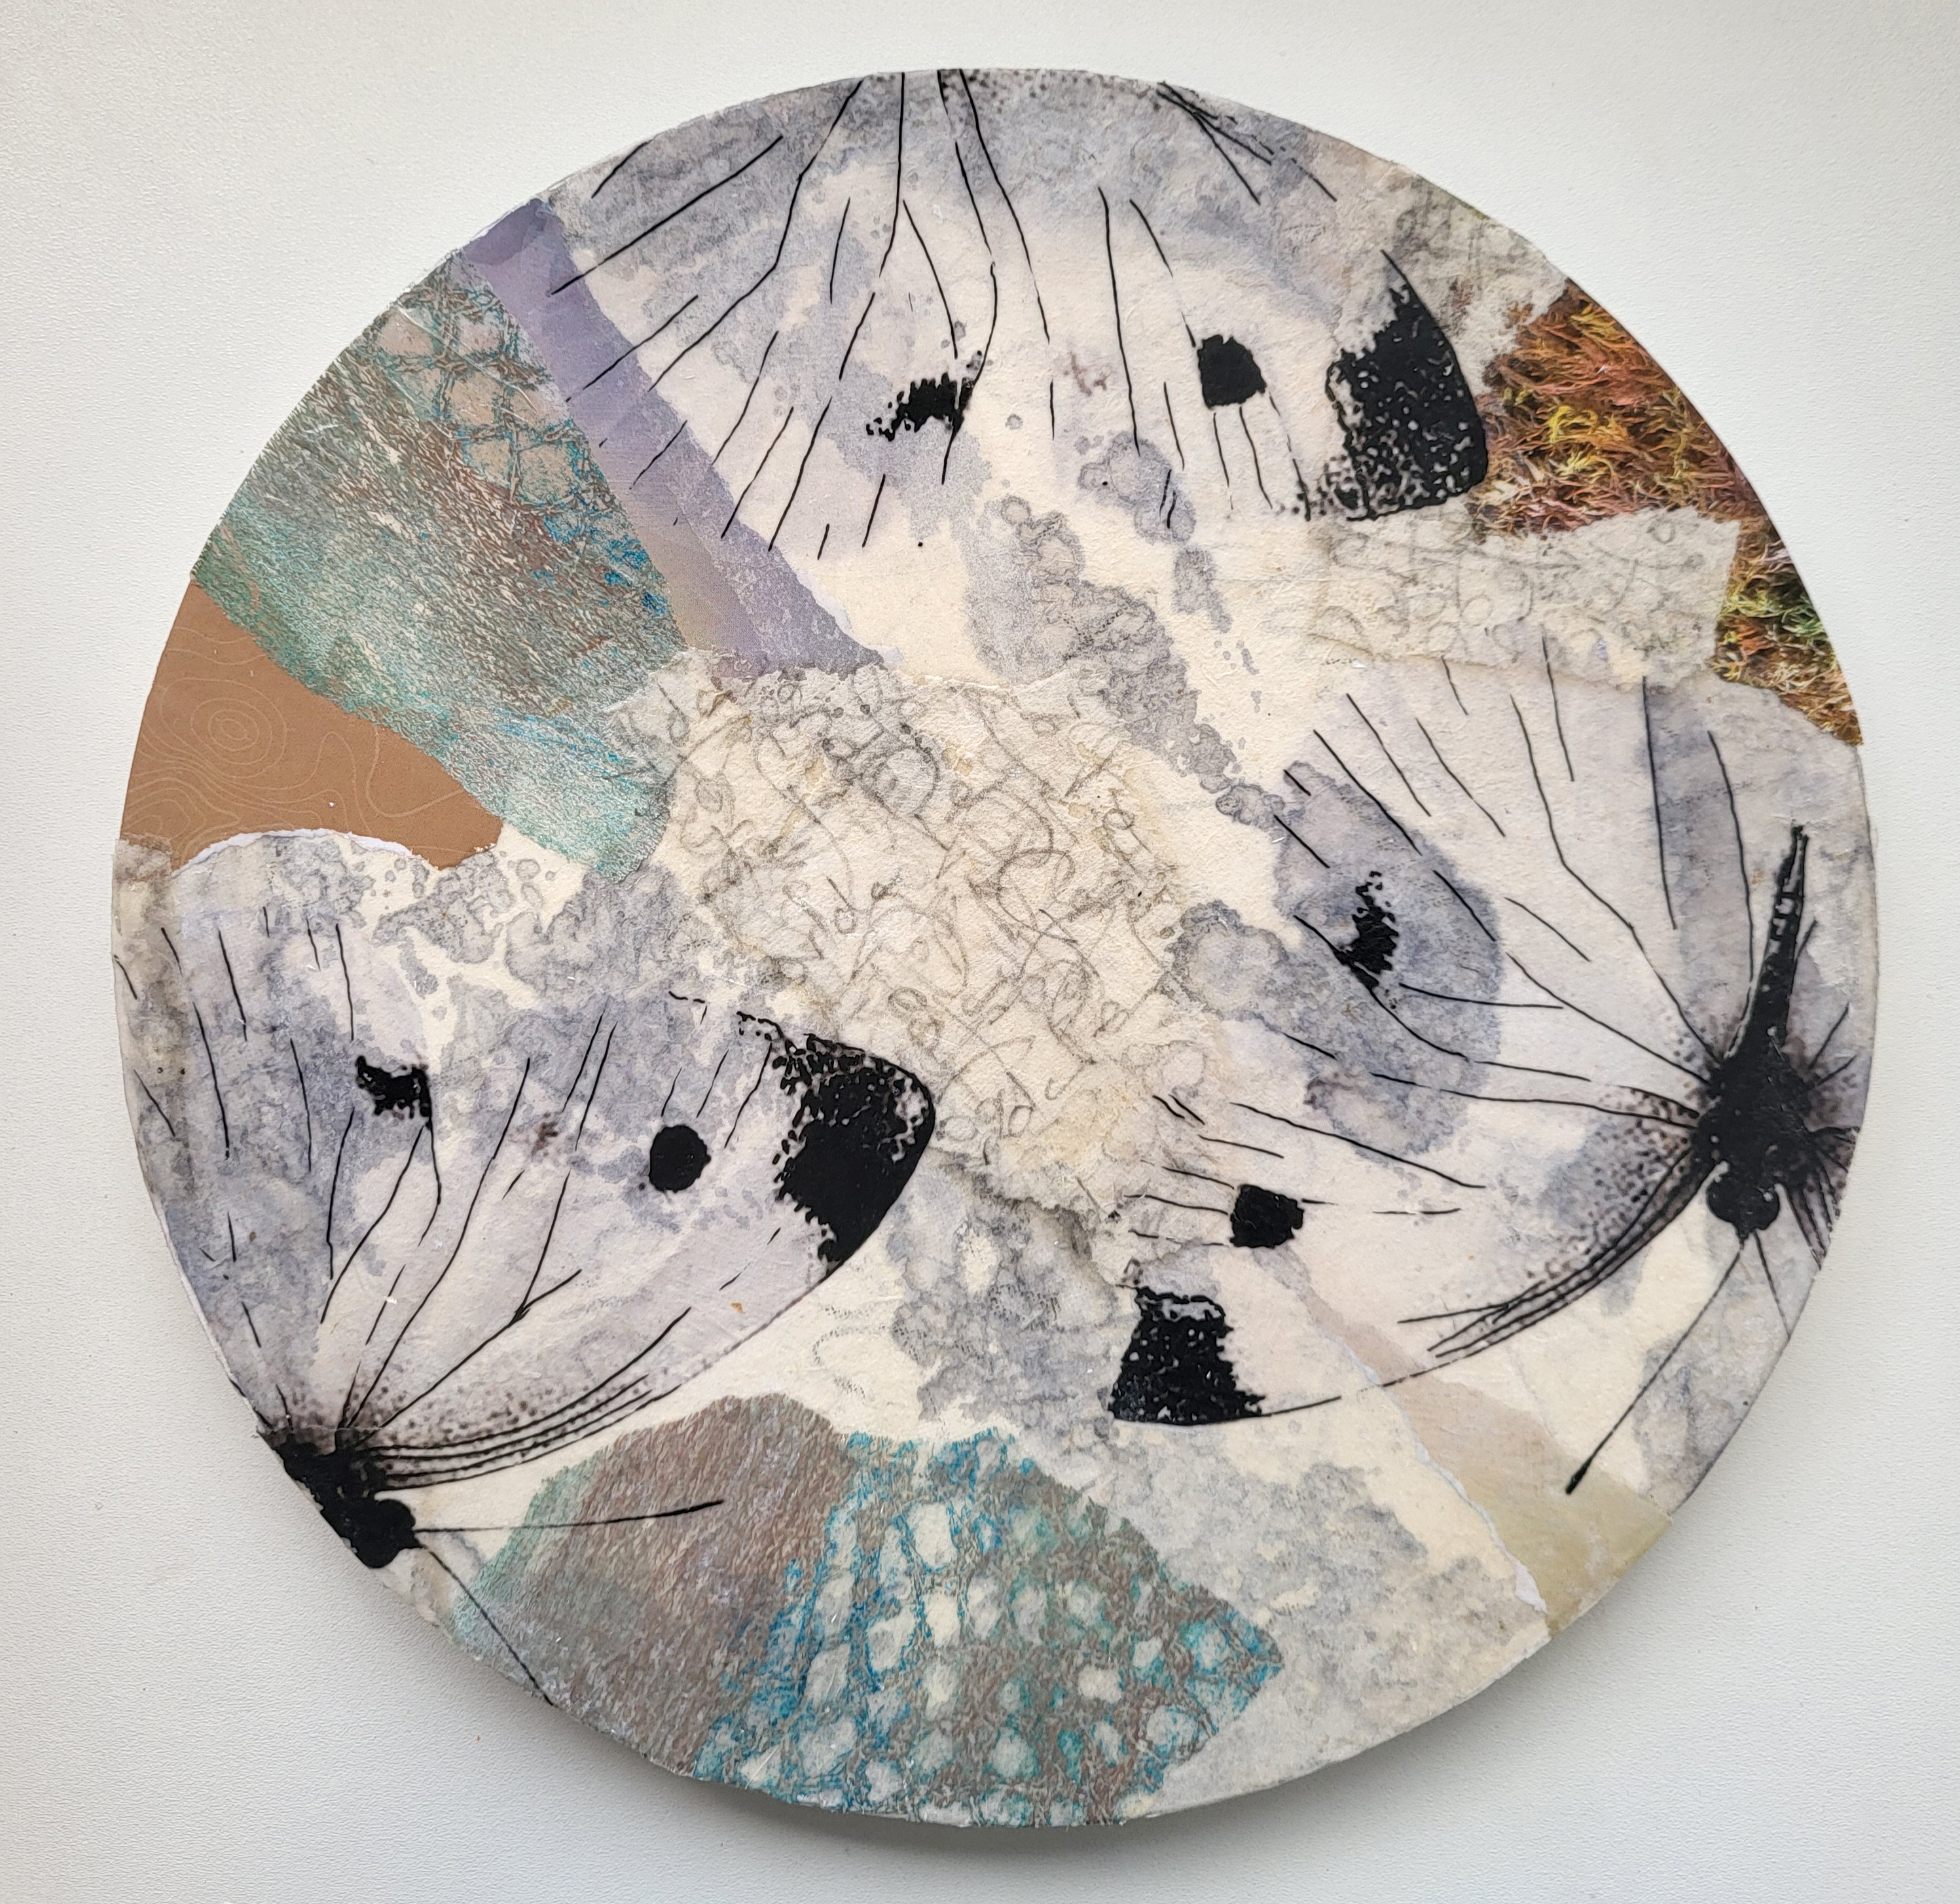
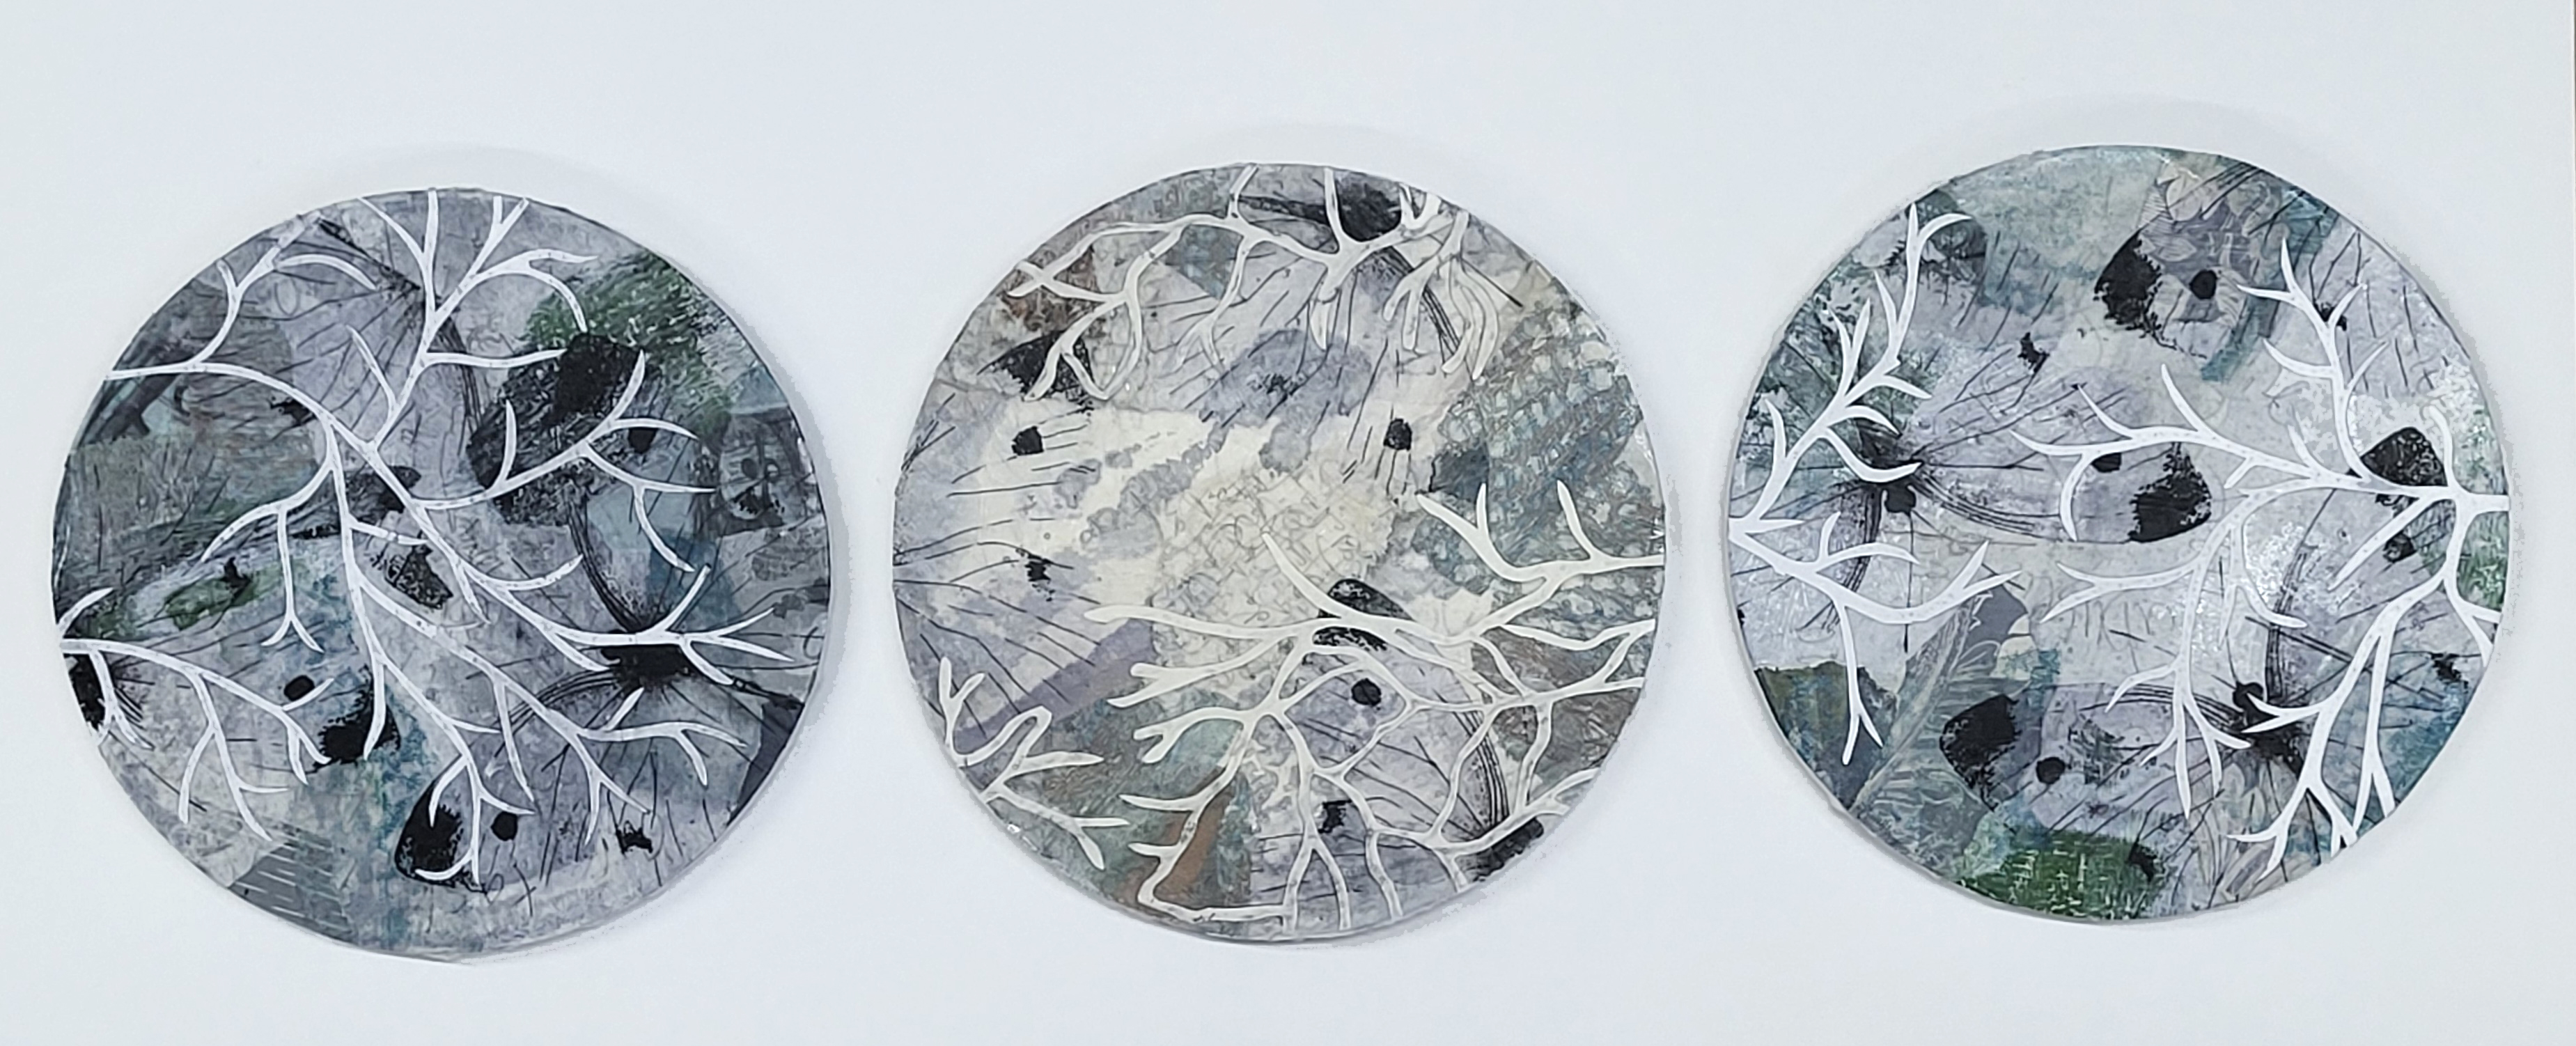
I have just completed a triptych using these butterfly images and I have started wondering how the entire process of creating layered interest like this might translate to clay.

Lepidoptera Triptych

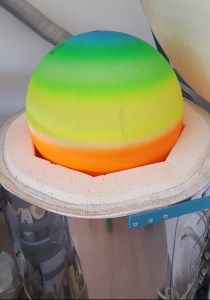
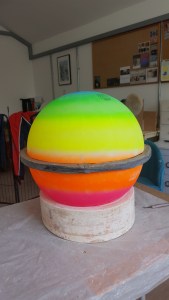
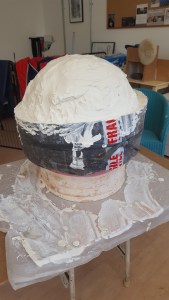
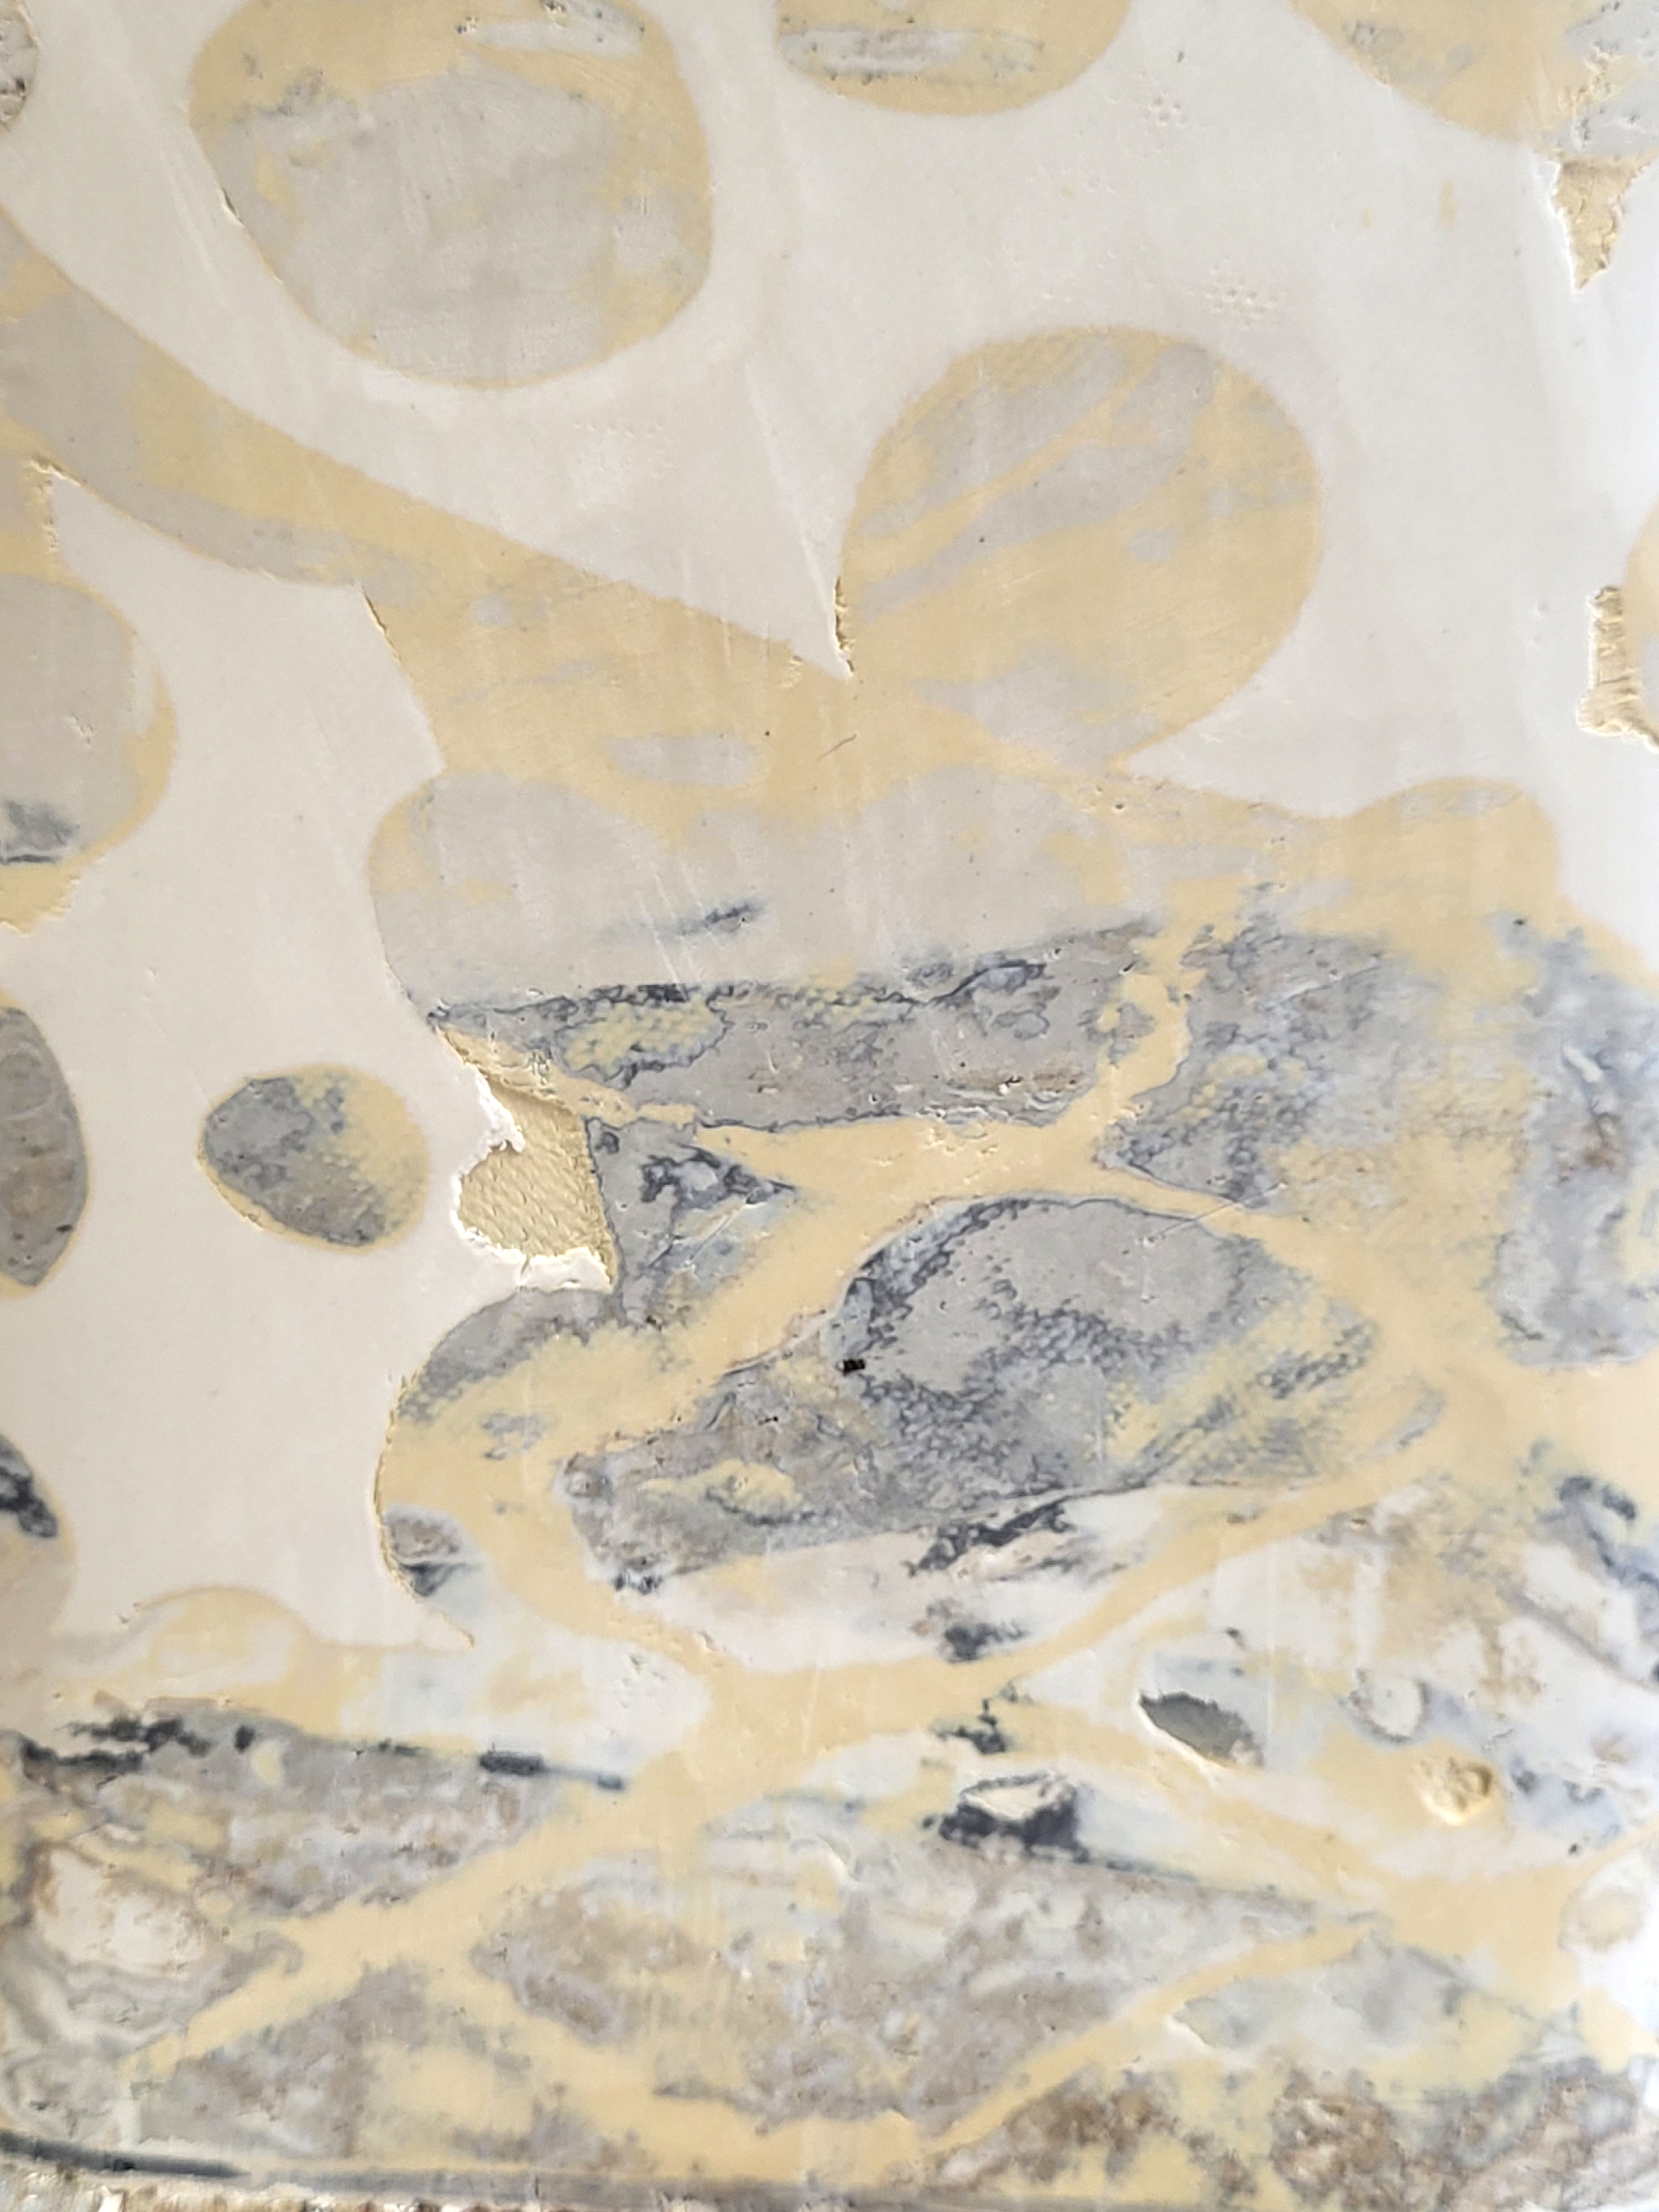
It is early days and I have not fired anything yet. Being clay, I have had to change the order of application so I have added the cut outs before firing but will add the images later on but I think this might have a place in my work somewhere in the future. I rather hope so!

Unfired experimental work using collaged clay.

Of course I shall continue to make my usual work as well but I think this might creep in from time to time as a diversion or something more. Time will tell . . . . .

Would you Like Chips with That?

For quite some time I have had a desire to ‘go large’ in the studio so when I saw a really enormous beach ball for sale in the village post office I simply couldn’t resist the temptation to make a really bit mould.  When I got it home, I discovered just how large it really was – maybe I need a bigger kiln!

20180621_144600
Houston, we have a problem!

In fact it isn’t TOO big.  Once I have done some manipulation of the clay and there has been a bit of shrinkage I am confident that my current kiln will be just fine.

The next thing to do was to create the mould from the shape.  As a general rule I would have built up the clay all the way to the mid point of the ball, constructed a wall around the entire thing and started pouring plaster of Paris until the cows came home.  If I had done that this time I would have used a ton of plaster of Paris and ended up with something so big and heavy I would never have been able to lift it so I thought I would go for something different.  The following images show the main stages:


20180621_153927
1. Make a clay barrier exactly on the mid line of the ball.

20180621_155930
2. pour a very thin layer of plaster of Paris over the whole of the top of the ball. (I made the plaster thicker than usual so that it didn’t run off.

20180621_165154
3. Put a collar on the outside of the clay wall and pour more plaster over tha ball, making sure that it filled the collar and was a fairly even thickness all over.


The result is that I now have a fabulously large mould.  It is light and easy to manoeuvre and I can’t wait for it to dry out fully so that I can get making.